Machine embroidery is one of the most rewarding creative crafts today. Whether you want to personalize gifts, decorate apparel, or eventually start an embroidery business, learning machine embroidery for beginners the right way makes all the difference.
At Embiki, we believe embroidery should feel exciting—not overwhelming. This complete guide will walk you step-by-step through everything you need to know to confidently begin your machine embroidery journey in 2026.
If you’ve ever asked:
-
How do I start machine embroidery?
-
What supplies do I really need?
-
Why does my thread keep breaking?
-
What stabilizer should I use?
This embroidery basics guide will answer all of it.
Let’s begin.
What Is Machine Embroidery?
Machine embroidery is the process of using a computerized embroidery machine to stitch decorative designs onto fabric.
Unlike hand embroidery, which relies on manual stitching, machine embroidery uses:
-
Pre-digitized design files
-
Automated stitching sequences
-
Specialized stabilizers
-
Embroidery-specific needles and threads
Modern machines read digital embroidery files (such as PES, DST, JEF) and stitch thousands of precisely placed stitches automatically.
This makes machine embroidery:
-
Faster than hand embroidery
-
More detailed
-
Ideal for repeat designs
-
Perfect for personalization
If you’re still deciding between traditional stitching and automated methods, you may find our detailed comparison on Hand Embroidery vs Machine Embroidery: Which Should You Start With? helpful.
How Machine Embroidery Works (Beginner Explanation)
Understanding how it works will make you more confident.
Machine embroidery follows this process:
-
A design is digitized into a stitch file.
-
The file is loaded into the embroidery machine.
-
Fabric is hooped with stabilizer.
-
The machine stitches the design layer by layer.
-
Thread colors change as programmed.
The machine follows instructions such as:
-
Stitch type (satin, fill, running)
-
Stitch direction
-
Stitch density
-
Thread color sequence
This is why understanding embroidery basics matters before jumping into projects.
Essential Embroidery Supplies List for Beginners
You do not need everything at once. Start with essentials.
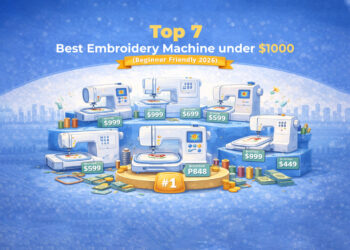
1 Embroidery Machine
There are two beginner-friendly categories:
Single-Needle Machines
Best for:
-
Hobbyists
-
Home use
-
Beginners
They stitch one thread color at a time.
Multi-Needle Machines
Best for:
-
Small businesses
-
Faster production
-
Frequent color changes
For beginners, a quality single-needle machine is enough.
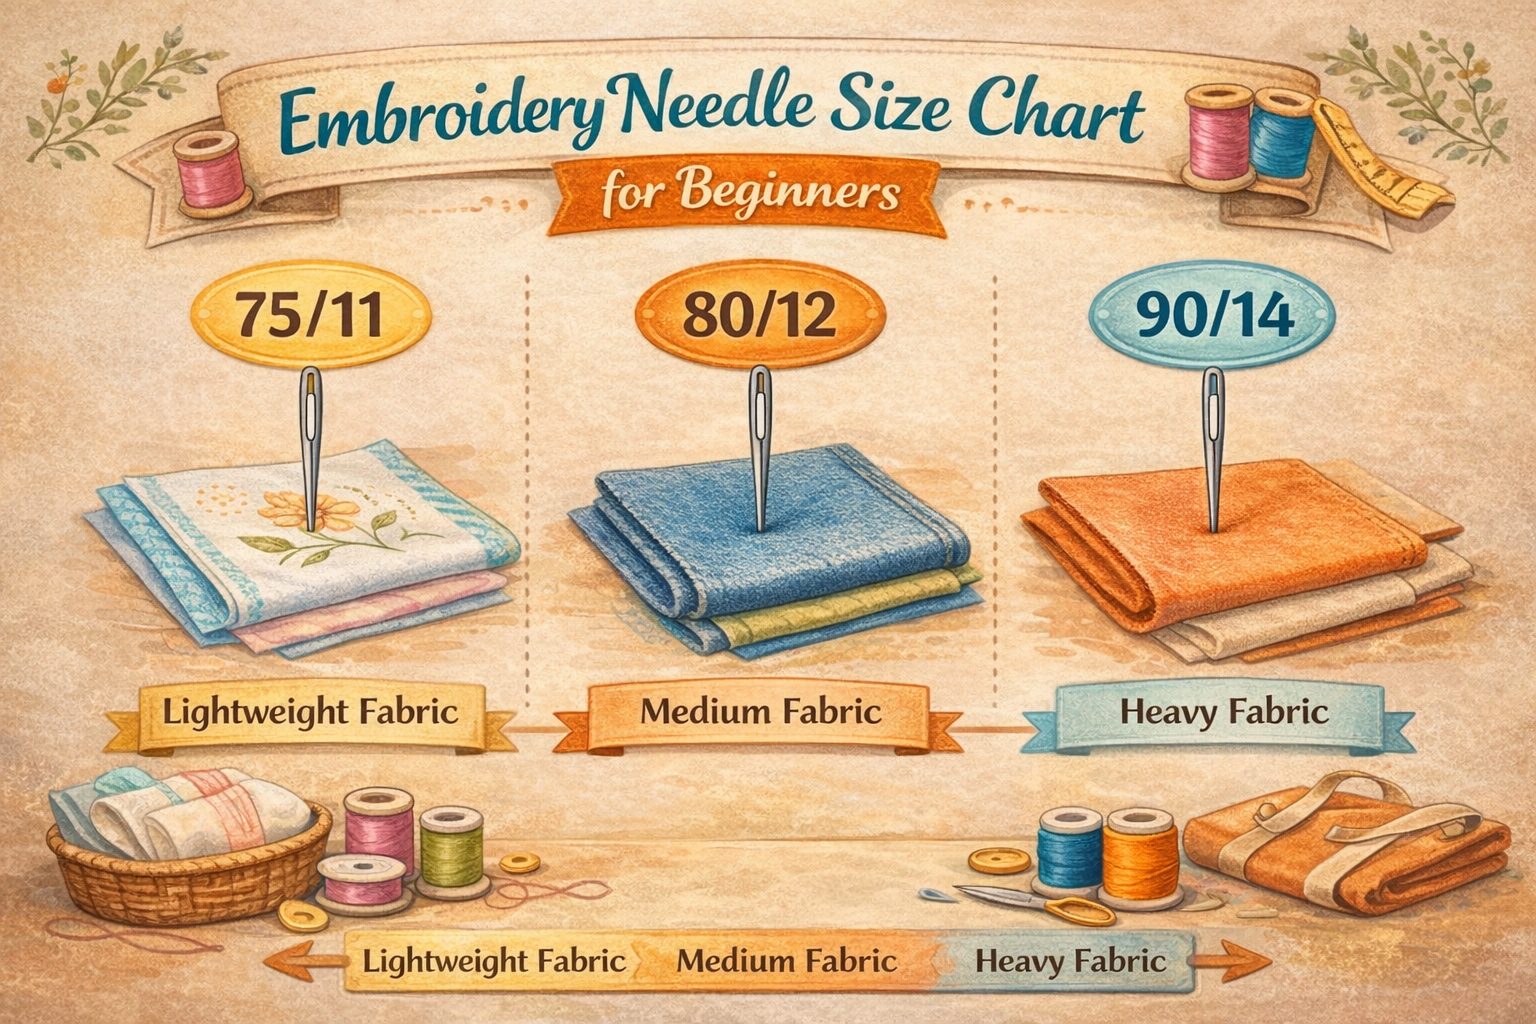
2 Embroidery Needles
Using the wrong needle causes many problems.
Common Needle Sizes:
-
75/11 – Lightweight fabrics
-
80/12 – Medium fabrics
-
90/14 – Thick fabrics
Embroidery needles have:
-
Larger eye
-
Special groove for thread protection
Replace your needle every 8–10 hours of stitching.
3 Embroidery Thread
Two main types:
Polyester Thread
-
Strong
-
Colorfast
-
Durable
-
Ideal for most beginners
Rayon Thread
-
High sheen
-
Slightly more delicate
For beginners, polyester is more forgiving.
4 Stabilizers (Extremely Important)
Stabilizer supports fabric during stitching.
Cutaway Stabilizer
Best for:
-
Stretch fabrics
-
T-shirts
-
Long-lasting designs
Tearaway Stabilizer
Best for:
-
Woven fabrics
-
Simple designs
Washaway Stabilizer
Best for:
-
Lace
-
Freestanding designs
Most beginner mistakes come from using the wrong stabilizer.
5 Hoops
Hooping keeps fabric tight and stable.
Never overstretch fabric.
Never hoop without stabilizer.
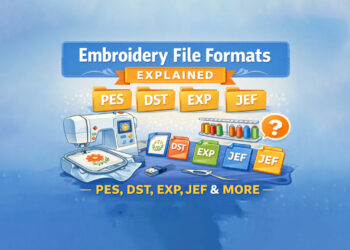
Understanding Embroidery File Formats
Your machine cannot read image files like JPG or PNG directly.
It needs stitch files.
Common formats include:
-
PES (Brother)
-
DST (Tajima)
-
JEF (Janome)
-
EXP (Melco)
-
VP3 (Husqvarna)
Always check machine compatibility before downloading designs.
Step-by-Step: Your First Machine Embroidery Project
Now let’s go practical.
Step 1: Choose a Simple Design
Start with:
-
Small monogram
-
Simple floral
-
Basic name design
Avoid:
-
Large dense designs
-
Too many colors
Step 2: Choose the Right Fabric
Good beginner fabrics:
-
Cotton
-
Denim
-
Canvas
-
Towel (with proper stabilizer)
Avoid stretchy fabrics at first.
If you’re unsure how fabric weight affects stitching results, our guide on How to Choose the Right Fabric for Machine Embroidery explains it in detail.
Step 3: Select Stabilizer
Match fabric type:
-
T-shirt → Cutaway
-
Cotton → Tearaway
-
Towel → Cutaway
Step 4: Hoop Properly
-
Place stabilizer under fabric
-
Center design area
-
Tighten hoop evenly
-
Fabric should feel like a drum
Improper hooping leads to puckering.
Step 5: Load the Design
Insert USB or transfer file.
Select design.
Check size.
Make sure design fits hoop size.
Step 6: Thread the Machine
Use correct thread path.
Check bobbin.
Ensure tension is balanced.
Step 7: Run a Test Stitch
Always test on scrap fabric.
This prevents ruining final project.
Step 8: Stitch the Final Design
Monitor first few minutes.
Watch for:
-
Thread breaks
-
Fabric shifting
-
Needle noise
Common Beginner Embroidery Mistakes (And Fixes)
Thread Breakage
Causes:
-
Old needle
-
Wrong needle size
-
Poor quality thread
-
Tight tension
Fix:
-
Replace needle
-
Rethread machine
-
Reduce speed
Fabric Puckering
Causes:
-
Wrong stabilizer
-
Too dense design
-
Improper hooping
Fix:
-
Use stronger stabilizer
-
Reduce density
-
Hoop evenly
Skipped Stitches
Causes:
-
Bent needle
-
Incorrect needle type
Fix:
-
Replace needle immediately
Design Distortion
Causes:
-
Resizing improperly
-
Stretch fabric without cutaway stabilizer
Beginner Embroidery Project Ideas
Start simple.
-
Monogram towels
-
Baby blankets
-
Tote bags
-
Apron names
-
Pillow covers
Creative inspiration builds confidence.
How to Maintain Your Embroidery Machine
Machine maintenance prevents 70% of issues.
Daily:
-
Remove lint
-
Clean bobbin area
Weekly:
-
Oil if recommended
-
Check needle condition
Monthly:
-
Deep clean
-
Inspect tension system
Always follow manufacturer guidelines.
Beginner Embroidery Tips for Faster Improvement
Here are proven beginner embroidery tips:
-
Practice on scrap fabric
-
Keep a notebook of settings
-
Test stitch every new design
-
Learn basic digitizing concepts
-
Study stitch types
Improvement comes from repetition and analysis.
When to Upgrade Your Skills
Once comfortable, you can explore:
-
Appliqué embroidery
-
Freestanding lace
-
3D puff embroidery
-
Multi-hoop designs
-
Basic digitizing
Growth is gradual.
Machine Embroidery Troubleshooting Basics
If something goes wrong:
-
Stop machine immediately.
-
Check needle.
-
Check thread path.
-
Check stabilizer.
-
Restart slowly.
Most problems are simple to fix.
Frequently Asked Questions (FAQ)
Is machine embroidery hard for beginners?
No. With practice and proper setup, beginners can learn quickly.
How much does it cost to start machine embroidery?
Basic setup can range from a few hundred to a few thousand dollars depending on machine choice.
How long does it take to learn?
You can complete simple projects within a few days of practice.
Do I need digitizing software to start?
No. You can use pre-made embroidery designs initially.
Final Thoughts: Your Machine Embroidery Journey Starts Here
Learning machine embroidery for beginners is not about buying the most expensive machine or tools.
It’s about understanding:
-
Stabilizer selection
-
Proper hooping
-
Needle and thread compatibility
-
Basic troubleshooting
When you master these fundamentals, embroidery becomes smooth, creative, and deeply satisfying.
At Embiki, our goal is to guide you step-by-step — from basics to advanced techniques — through reliable tutorials, practical tips, and creative inspiration.
Your first project does not have to be perfect.
It just has to begin.


