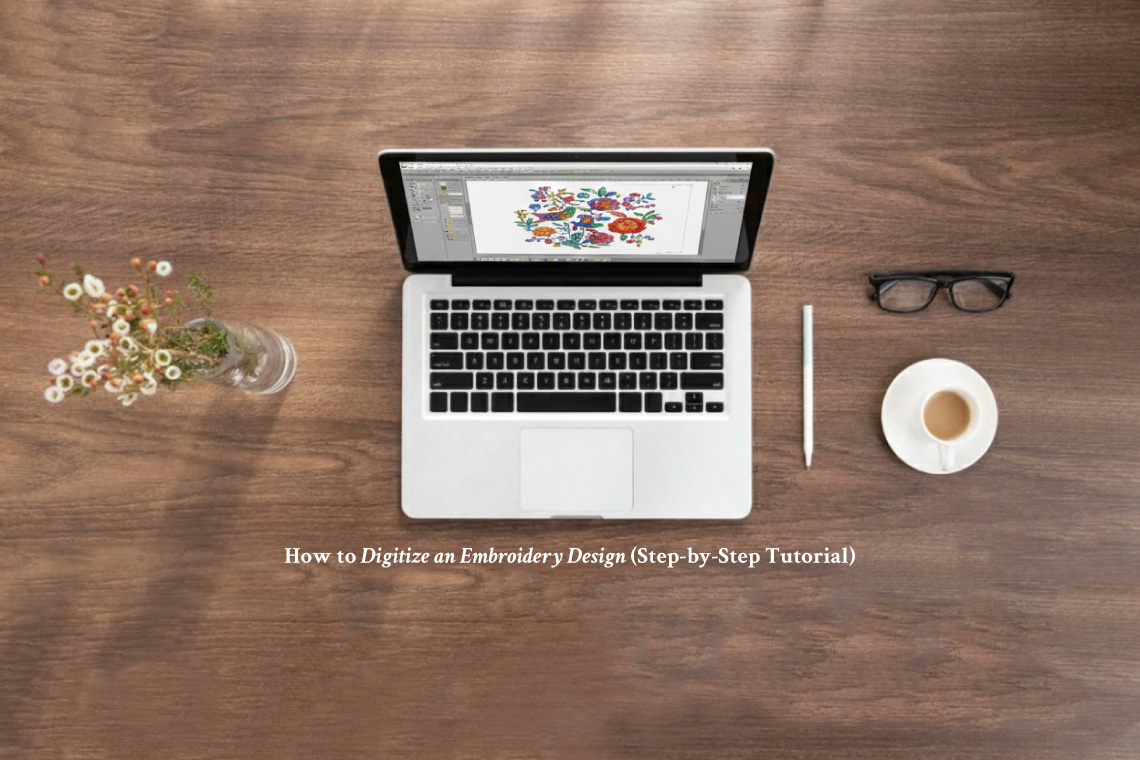
Learning how to digitize embroidery design files is one of the most valuable skills in modern machine embroidery. Digitizing is what transforms artwork into stitch instructions that embroidery machines can understand. While the process may seem complex at first, breaking it into clear, structured steps makes it manageable—even for beginners.
This embroidery digitizing tutorial walks you through the entire process, from preparing artwork to exporting a stitch-ready file using embroidery digitizing software.
What Is Embroidery Digitizing?
Embroidery digitizing is the process of converting an image, logo, or illustration into a stitch file that an embroidery machine can sew. Unlike printing or graphic design, embroidery requires specific instructions such as stitch type, direction, density, underlay, and stitching sequence.
Digitizing is not just file conversion—it’s a technical craft that combines creativity with precision.
Why You Can’t Just “Save As” an Image
A common beginner misconception is that you can simply save a JPG or PNG as an embroidery file. Image files are made of pixels or vectors, while embroidery files are made of stitch paths and commands.
This is why learning how to digitize embroidery design files properly is essential for quality results.
What You Need Before You Start Digitizing
Before starting, make sure you have:
-
Artwork (SVG or AI preferred; high-resolution PNG/JPG also work)
-
Basic knowledge of stitch types
-
Understanding of fabric and thread behaviour
If you’re new to tools, beginner-friendly options are covered in Embiki’s Resources & Tools section.
Step 1: Choose the Right Artwork
Clean artwork produces clean embroidery.
Best practices:
-
Use simple shapes and clear outlines
-
Avoid heavy gradients and tiny details
-
Convert text to outlines when possible
Logos, icons, and flat illustrations are ideal for beginners.
Step 2: Import Artwork into Embroidery Digitizing Software
Open your embroidery digitizing software and import the artwork.
At this stage:
-
Resize the design to final stitch size
-
Set the correct hoop dimensions
-
Lock the background image to prevent movement
Correct sizing at this stage prevents stitch density issues later.
Step 3: Choose the Appropriate Stitch Types
Stitch choice defines texture, durability, and appearance.
Common stitch types:
-
Running stitch – outlines and fine details
-
Satin stitch – text, borders, narrow columns
-
Fill stitch (Tatami) – large areas and backgrounds
Choose stitch types based on fabric, design size, and purpose.
Step 4: Digitize Manually (Avoid Auto-Digitizing at First)
While auto-digitizing exists, manual digitizing produces far better results.
Manual digitizing allows you to:
-
Control stitch direction
-
Adjust stitch density accurately
-
Reduce thread breaks
-
Improve fabric stability
Auto-digitizing can be useful for learning, but professional-quality embroidery relies on manual control.
Step 5: Set Stitch Direction and Density
This step separates amateur results from professional ones.
Key tips:
-
Change stitch direction between adjacent areas
-
Avoid excessive stitch density (causes stiffness and puckering)
-
Reduce density on lightweight fabrics
Balanced stitch flow improves both appearance and durability.
Step 6: Add Underlay Stitches
Underlay stitches form the foundation of embroidery.
Why underlay matters:
-
Stabilises fabric
-
Improves stitch coverage
-
Prevents distortion and sinking stitches
Most embroidery digitizing software offers edge run, zigzag, or tatami underlay options.
Step 7: Sequence the Design Correctly
Stitch order impacts efficiency and final quality.
Best sequencing practices:
-
Stitch from centre outward
-
Complete background areas first
-
Minimise trims and jump stitches
Good sequencing reduces thread breaks and machine downtime.
Step 8: Test Stitch the Design
Never skip test stitching.
Always test on:
-
Similar fabric
-
Same stabiliser
-
Same thread type
Test stitching reveals issues like puckering, gaps, or excessive density before final production.
Step 9: Export the Design in the Correct File Format
Export your design in a machine-compatible format:
-
PES – Brother, Baby Lock
-
DST – Commercial machines
-
JEF – Janome
-
EXP – Bernina
Double-check stitch count, colour sequence, and size before saving.
Common Digitizing Mistakes to Avoid
-
Over-digitising small details
-
Using one stitch type for everything
-
Ignoring fabric characteristics
-
Skipping underlay stitches
-
Failing to test designs
Avoiding these mistakes saves time, thread, and frustration.
How Long Does It Take to Learn Embroidery Digitizing?
Most beginners understand the basics of how to digitize embroidery design files within a few weeks. Mastery develops through consistent practice, testing, and learning how stitches behave on different fabrics.
Digitizing is a skill that improves steadily over time.
Final Thoughts
Digitizing is the backbone of high-quality machine embroidery. With the right embroidery digitizing software and a structured approach, anyone can learn this essential skill. This embroidery digitizing tutorial provides a practical roadmap—focus on manual control, test stitching, and continuous improvement.
Embiki’s Tips & Tutorials category exists to support your learning journey, from beginner techniques to advanced embroidery skills.
Frequently Asked Questions (FAQs)
1. What does it mean to digitize an embroidery design?
Digitizing an embroidery design means converting artwork into stitch instructions that an embroidery machine can read. This includes defining stitch types, directions, density, underlay, and stitching order so the design stitches correctly on fabric.
2. Is embroidery digitizing difficult for beginners?
Embroidery digitizing can feel challenging at first, but beginners can learn the basics by following a step-by-step approach. With practice and testing, most people become comfortable digitizing simple designs within a few weeks.
3. Do I need special software to digitize embroidery designs?
Yes, you need embroidery digitizing software to create stitch files for embroidery machines. This software allows you to control stitch types, density, underlay, and export designs in machine-compatible formats.
4. Can I use auto-digitizing instead of manual digitizing?
Auto-digitizing can be useful for learning and experimentation, but manual digitizing produces higher-quality results. Manual control allows better stitch flow, fabric stability, and cleaner embroidery finishes.
5. Why is test stitching important after digitizing?
Test stitching helps identify problems such as puckering, gaps, thread breaks, or incorrect stitch density. Testing ensures your design works properly before stitching on final fabric.
6. What are the most common embroidery digitizing mistakes?
Common mistakes include:
-
Overly dense stitches
-
Ignoring fabric type
-
Skipping underlay stitches
-
Poor stitch sequencing
-
Not testing the design
Avoiding these improves embroidery quality and machine performance.
7. Is embroidery digitizing a valuable skill to learn?
Absolutely. Knowing how to digitize embroidery design files gives you full control over embroidery quality, allows customisation, and improves understanding of machine embroidery overall.


